
Carburetor Restoration
This is a carburettor from our own project bike a Suzuki T 250 1972 we purchase to restore and show in our factory.
In this particular case, we stripped the carburettors to refinish the bodies by vapour blasting and re-zinc the fittings. In the process we found the flanges to be distorted and re-machined them flat again.
Before

After

The Carburetor Restoration Process
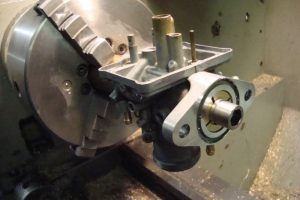
Distorted Mukuni carburettor is put onto a mandrel on a centre lathe and faced square to remove the distortion.
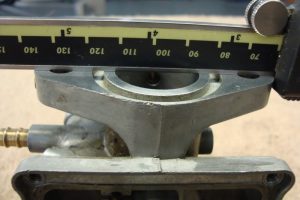
The carburetor is checked to make sure all the distortion is removed.
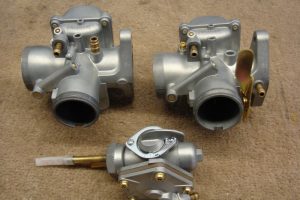
The carburetor is vapour blasted, ultrasonically cleaned and re-assembled with the newly zinc plated parts.
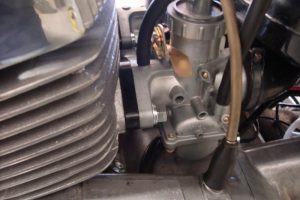
Finally the finished carburetors are fitted to the Suzuki.
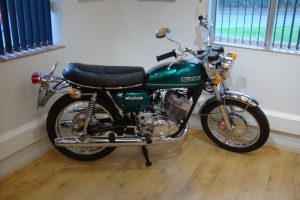
These parts were restored as part of a nut and bolt restoration on our own 1971 Suzuki T 250 which is now on display in our office.